A CLI tool that scaffolds a Nuxt 3 ESLint setup using my custom linting standards.
— ESLint Auewellify Standards
ESLint Auewellify Standards is a fully automated CLI utility designed to streamline the ESLint setup process for Nuxt 3 projects using a customized configuration. It eliminates the repetitive setup work by installing dependencies, generating config files, and updating your project's IDE and framework configuration—all in a single command.
What It Does
- - Installs ESLint and
@nuxt/eslint - - Creates a custom
eslint.config.mjswith predefined rules - - Updates or creates
.vscode/settings.jsonfor VS Code linting support - - Modifies
nuxt.config.tsto include@nuxt/eslintin themodulesarray
Project Structure:
eslint-setup-auewellify-standards/
├── bin/
│   └── index.js
├── lib/
│   ├── install.js
│   ├── configFile.js
│   ├── vscodeSettings.js
│   └── updateNuxtConfig.js
├── utils/
│   └── eslintRules.js
├── package.json
└── README.md
Installation & Usage
- - Clone the repo:
git clone git@github.com:austinxewell/eslint-setup-auewellify-standards.git - - Make CLI executable:
chmod +x bin/index.js - - Link the CLI globally:
npm link - - Run inside a Nuxt 3 project:
eslint-setup-auewellify-standards - - Be sure to run npm run dev to generate the correct ./nuxt files.
Test Locally Without Linking
From your Nuxt 3 project root, run:
node path/to/eslint-setup-auewellify-standards/bin/index.js
Notes
- - If
.vscode/settings.jsondoesn't exist, it gets created. - - If
nuxt.config.tsis missing, the CLI throws a fatal error. - - Any existing
.eslint.config.mjswill be overwritten.
Windows Users
If chmod isn't recognized, use Git Bash or WSL. Do not use PowerShell or cmd.exe. Skip chmod and ensure bin/index.js starts with:
#!/usr/bin/env node
Project Views:
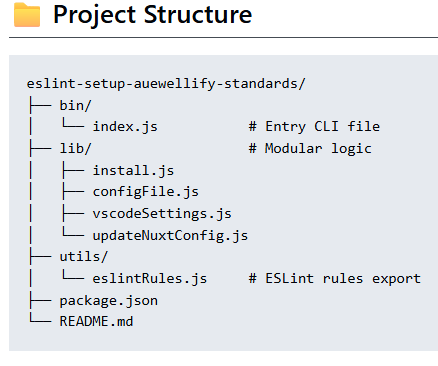
Project Structure
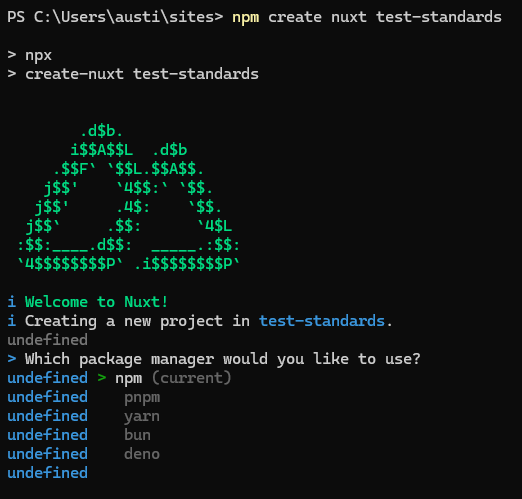
Creating Nuxt App

Not Selecting Linters
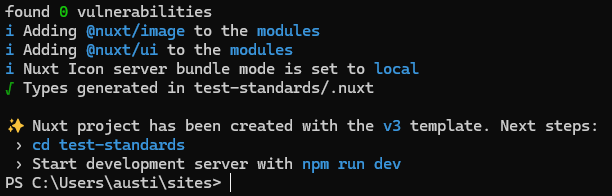
Nuxt App Confirmation
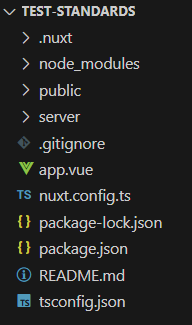
Nuxt App Starter Files

Installing Standards
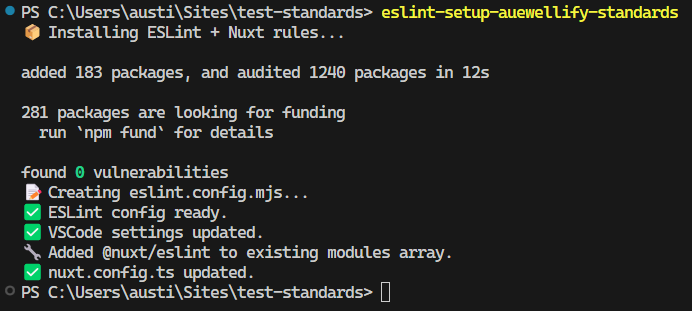
Standards Installed
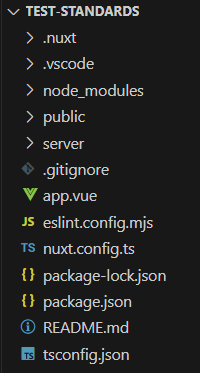
Updated Nuxt App Files
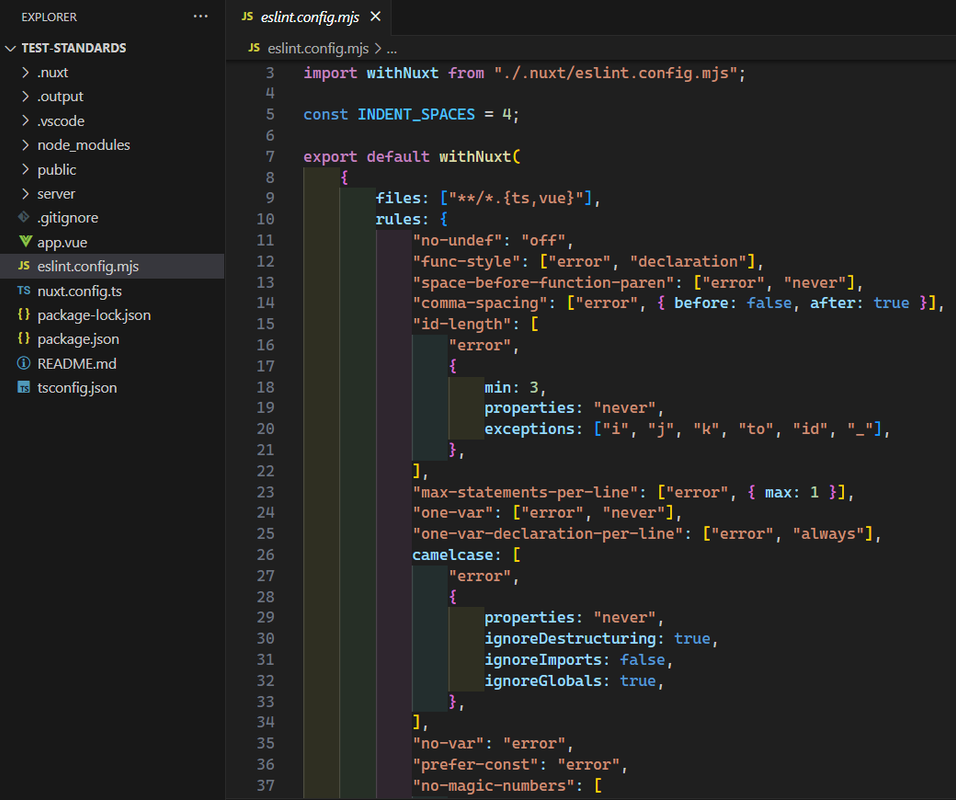
Verification of Rules
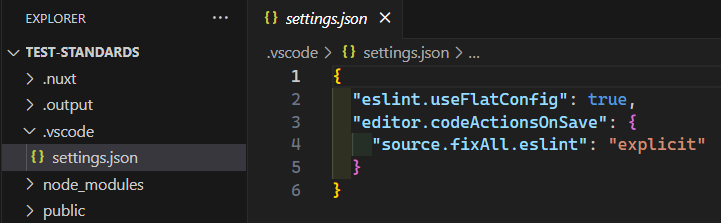
Verification of VSCode Settings

Verification ESLint Added to Modules